
DomainKeys Identified Mail (DKIM) is an email authentication system designed to detect email spoofing. It allows organizations to take responsibility for transmitting a message, while providing a mechanism to verify that the message was not altered during transit. DKIM uses cryptographic signatures and public-key infrastructure to verify that an email message has not been altered during transit, and that it truly came from the claimed sender. Email senders can use DKIM to sign their messages by adding a DKIM-Signature header field to the messages. Email receivers can then use the public key published in the DNS to verify the signature and check that the message has not been tampered with.
I. Steps to Configure DKIM for Gorgias
To obtain your DKIM keys and enable DKIM authentication for your domains, Gorgias will generate it’s own key. You will receive a DKIM key pair from Gorgias support that will include:
- A DKIM public key, which should be published in your public DNS.
- A DKIM private key: used by Gorgias to sign your outgoing emails
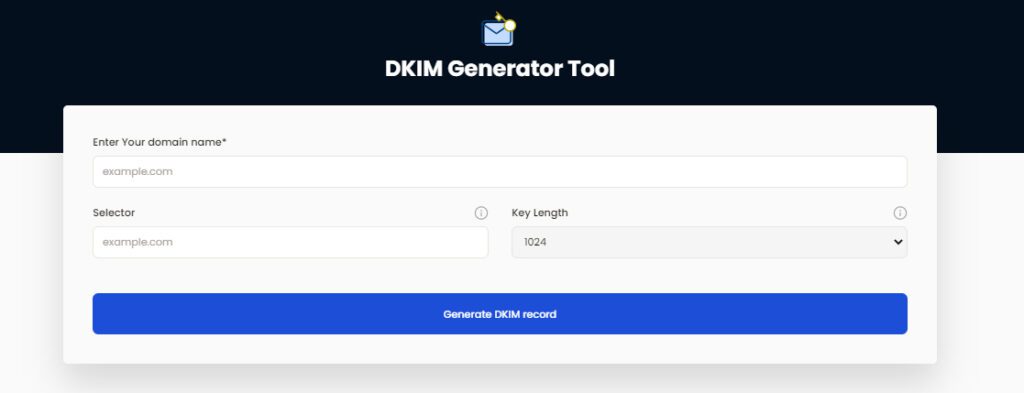
The DKIM key pair can also be created using our free DKIM record generator tool if you are sending emails from your own servers as opposed to Gorgias.
II. How to Get Your DKIM Public Key Available for Gorgias
In order to set this up, you must first ensure that you have administrative access to both your domain registrar and the integrations page in Gorgias.
Follow the steps below:
1. Locate Settings → Integrations → Email → your email integration → Domain verification. You will be presented with a screen where you can generate your DKIM key on this page, but first you must select the size that is suitable for your domain registrar.

2. You will notice that there are now two entries that need to be made once you have generated a key. Copying text from one location to another works just as well for setting up SPF and DKIM, which is exactly what must be done to set up your domain verification. The information from Gorgias would need to be copied into your domain registrar, which you would need to open.
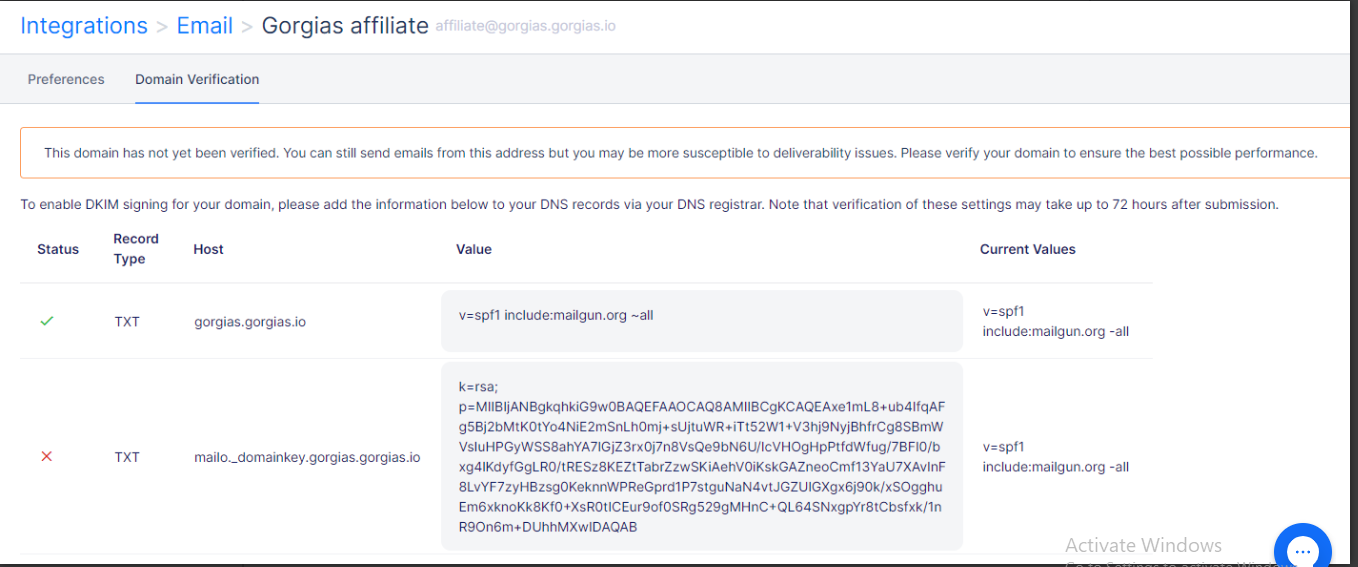
3. When you select the option to add a new entry in your domain registrar, a screen similar to the one below will appear. Since we are adding the “TXT” element, you should choose the type to be “TXT,” the host to be “gorgias.gorgias.io,” and the TXT value to be “v=spf1 include:mailgun.org all.” (from the previous screenshot).
4. Adding DKIM to your domain registrar has the same effect. Once more, you would choose “TXT,” enter “mailo. domainkey.gorgias.gorgias.io” as the host, and enter the key from step 2 as the TXT Value.
5. You can proceed to wait for up to 72 hours for the domain verification to be finished once both of these choices have been added to your domain registrar. Although SPF should take effect before DKIM, it is strongly encouraged to do nothing if all the entries have been made correctly and to simply wait for the 72-hour period to pass.
You can use Skysnag’s free DKIM Checker to check the health of your DKIM record here
Enable DMARC for your domains to protect against spoofing. Sign up for a free trial today!
For more information on Gorgias DKIM setup, you can refer to their reference documentation