
DKIM is specified in RFC 6376, and it is used by a number of email service providers, including Google, Yahoo, and Microsoft. DKIM is designed to address some of the flaws in the existing email system, such as spoofing, phishing, and message tampering. It allows email senders to digitally sign their messages in a way that can be verified by email receivers. This allows receivers to verify that the message truly came from the sender, and has not been tampered with.
I. Generating Office 365 DKIM keys through the Microsoft 365 Defender portal
Note: Previously, the O365 Exchange Online portal was used to configure DKIM for Office 365. The DKIM configuration process has been activated and transferred to the Microsoft 365 Defender portal, nevertheless, as a result of ongoing enhancements to Microsoft’s security procedures.
We will talk about how to use the updated Office 365 Defender to enable DKIM Office 365 today. Follow the directions below:
- Sign in to your Defender account. Use this link.
- Navigate to the portal and select Policies & regulations from the Email & Collaboration section.
- Choose Threat policies from the Policies & rules page.

- To access the DKIM page, choose DomainKeys Identified Mail (DKIM) now.
- Choose the domain you wish to enable DKIM for on the DKIM page (this is the domain you use to send outbound messages)

- You can now toggle the “Enable button” to start the activation process for DKIM. A dialogue box will appear which may contain the following status:
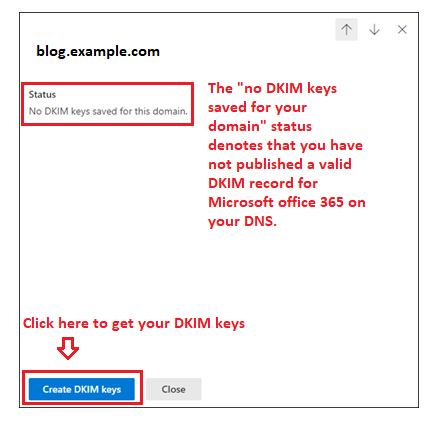
There’s no need for you to be concerned about this. To view your keys, just click the Create DKIM keys button.
- You can now see your DKIM CNAME records in a pop-up window.
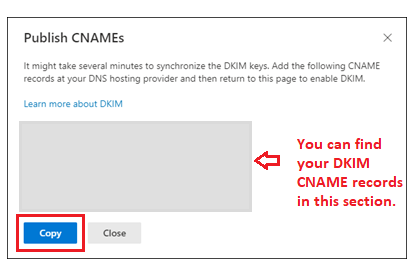
Click on the blue “Copy” button to copy records to your clipboard
II. Publishing your DKIM CNAME records in Office 365:
- Log in as the administrator to your DNS provider’s administration console.
- Go to the section for DNS records.
- Make fresh CNAME records (Record type: CNAME)
- Using the space provided on the Defender interface, paste the copied hostnames and values.
- Retain TTL at 3600.
- Save any changes you make to your record, then give your DNS between 24 and 48 hours to take effect.
Note: Using a different DNS hosting service will result in a different publishing procedure for DNS records. The duration of the records’ activation is likewise based on the same.
III. Enabling the Microsoft 365 DKIM keys on your Defender account
After you are done publishing the records on your DNS, head back to the DKIM page on your Defender portal and toggle the “Enable” option.

IV. DKIM could not be activated!
If an error persists and DKIM couldn’t be enabled for your domain on Microsoft’s Defender portal, follow these steps:
- Use our DKIM record checker tool to check your published DKIM record to determine if it is accurate and genuine.
- It could take some time for changes to your DNS to take effect. Verify your configuration after at least 48 hours have passed.
- Verify the syntax of your DKIM record to make sure there are no errors, such as extra spaces or unusual characters.
- Contact your DNS hosting company to talk about the situation.
- Contact Microsoft’s customer service department for guidance on this.
V. How can DKIM for Office 365 be disabled?
You can disable DKIM for Office 365 with a single click on the Defender portal.
To access DomainKeys Identified Mail, you navigate to Email & Collaboration > Policies & Rules > Threat Policies (DKIM)
Click “Enable” on the DKIM page to disable the protocol.
Note that DKIM verification might improve message authentication in unique circumstances like email forwarding, when SPF may fail. It’s a good email practice to keep DKIM enabled for your domains, and Microsoft and we both strongly advise it.
You can use Skysnag’s to monitor DKIM in real-time here
For more information on Microsoft Office 365 DKIM setup, you can refer to their reference documentation