All versions of Windows Server come with tools that can be used to install an SMTP server. This SMTP server can function as a mail relay service, receiving and transmitting SMTP emails from various devices within the company.
This article will explain how to set up and configure an SMTP server on virtual servers running Windows.
I. What is an SMTP Server
An SMTP server is an email protocol that is in charge of sending emails. It operates in accordance with the Simple Mail Transfer Protocol (SMTP). The email client sends emails to an SMTP server. Then it forwards them to an additional SMTP server and the incoming mail server.
II. Install the SMTP Service
- Activate the Server Manager. Enter “Server Manager” into the Search charm to discover it.

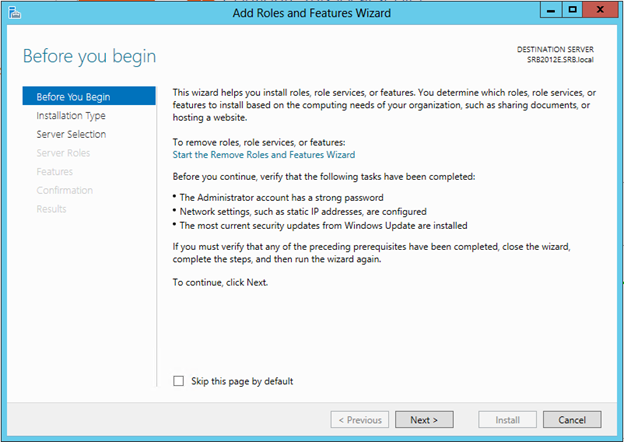
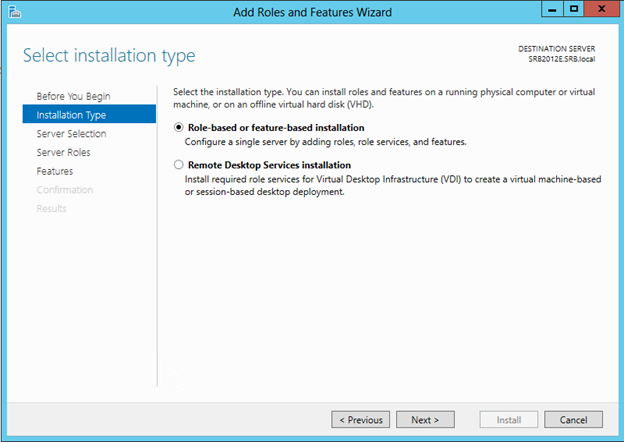
- Add Roles and Features using the dashboard. The wizard to add roles and features will now launch. On the first screen, select Next.
- Click Role-based or feature-based installation.
- Click Essentials Server.

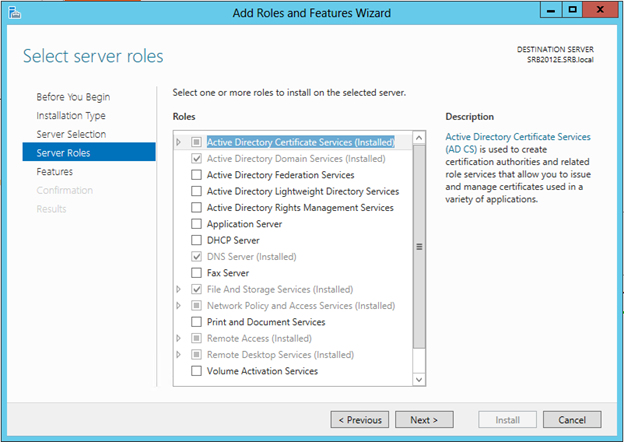
- Select Next to bypass the Roles selections.
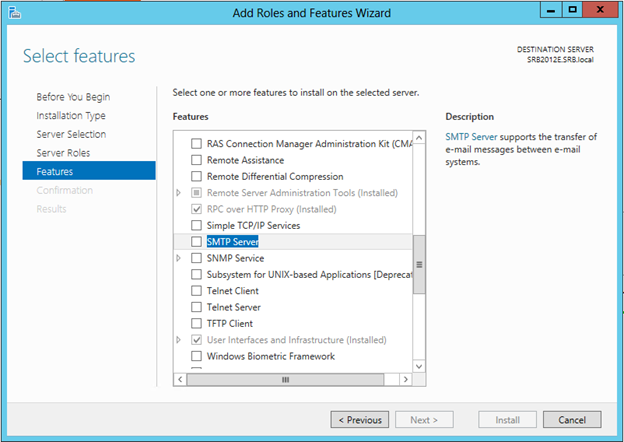
- Scroll down the list and tick the SMTP Server feature.
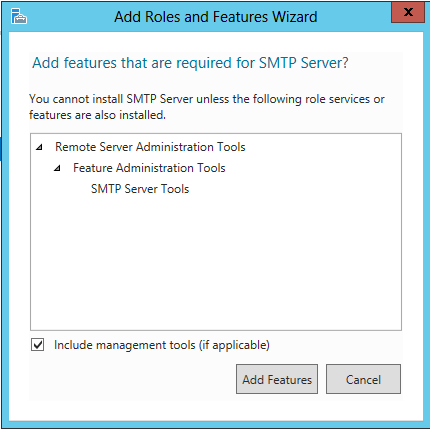
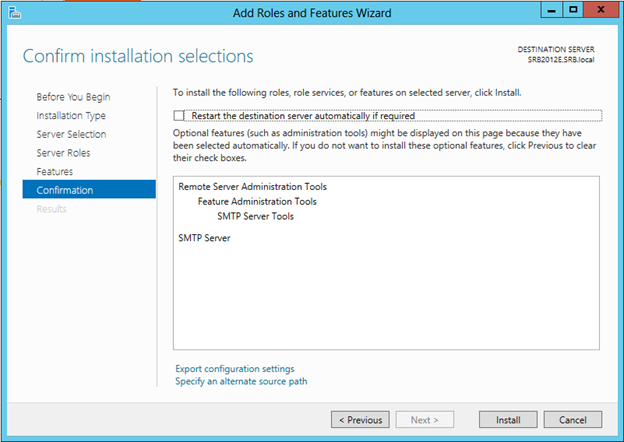
- You will receive notice in a new window that more services will also be deployed. To confirm and proceed, click Add Features. To proceed past the features selection screen, click Next.
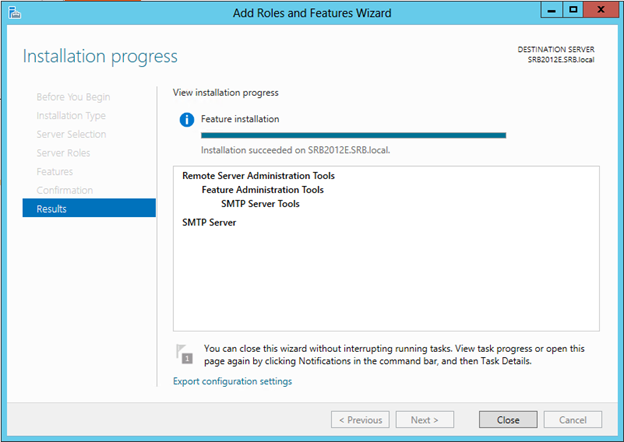
- Select install to finish the Installation.
- Select Close when the installation has finished.
III. Configure the SMTP Service
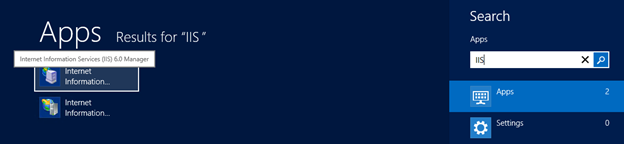
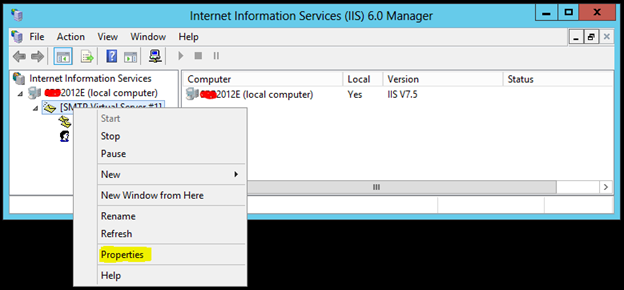
- Type in IIS into the Search charm. Click on one of the options to launch the Internet Information Services (IIS) 6.0 Manager.
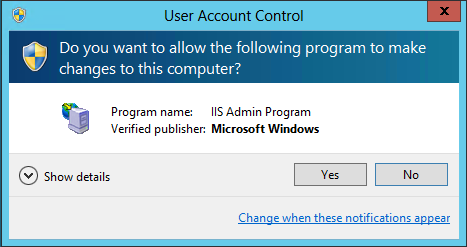
- Select Yes to the UAC Prompt.
- Right-click on SMTP Virtual Server #1, expand it, and then choose Properties.
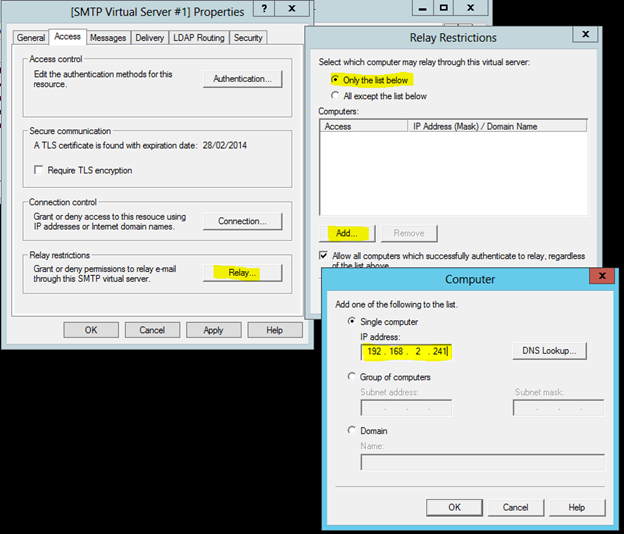
- General Tab: Set the IP Address to the server’s IP address.

- Access Tab: In the connection button, set the IP address for the internal devices. Add the same IP address to the Relay list.
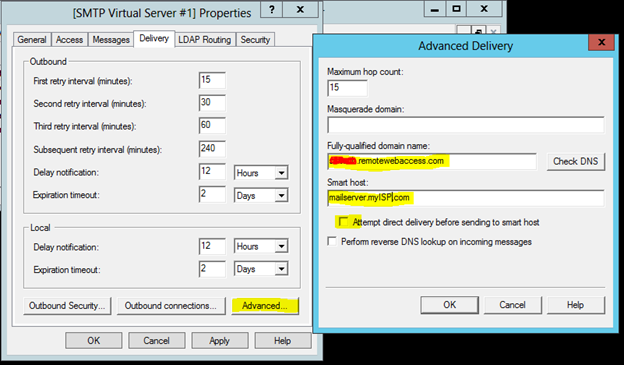
- Delivery Tab: Select an external domain; you can add a Smart host if necessary or use the free customized domain from Microsoft. Tick the Attempt direct delivery box if you want the server to try to deliver the email directly first before using the Smart host.
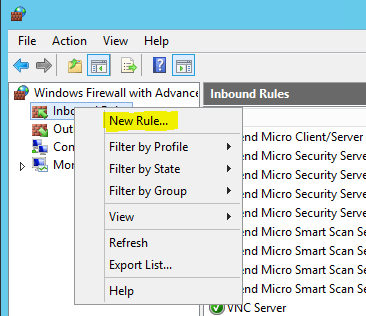
- To find and launch the Windows Firewall with Advanced Security console, type “Firewall” into the Search charm.

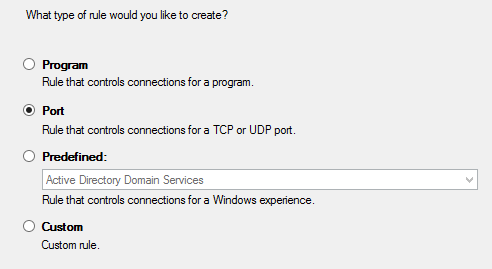
- New Inbound Rule added. To create a new rule, right-click Inbound Rule and choose New Rule.
- Choose Port.
- Fill in 25 as the local port.
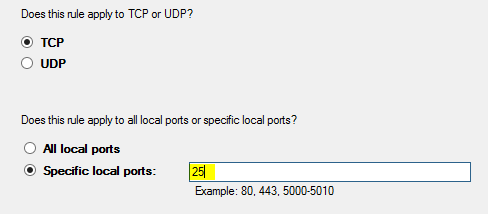
- Select Next (Allow the Connection).

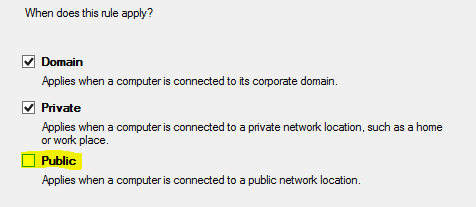
- Uncheck Public. (Prevents external access to the server)
- Give the rule a name, and select Finish to create the rule.
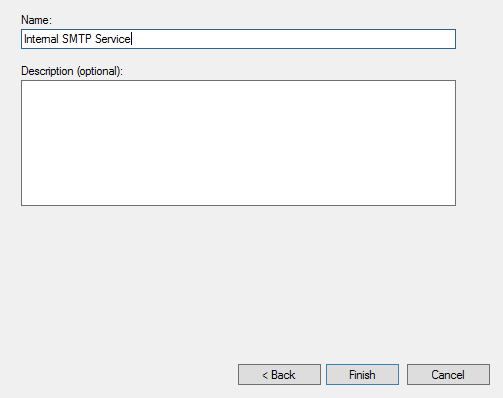
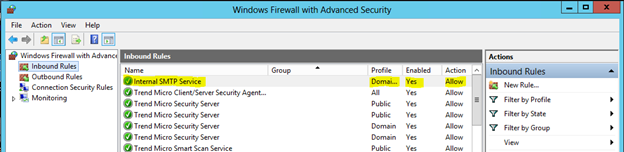
- A new rule ought to now be active in the firewall administration panel.
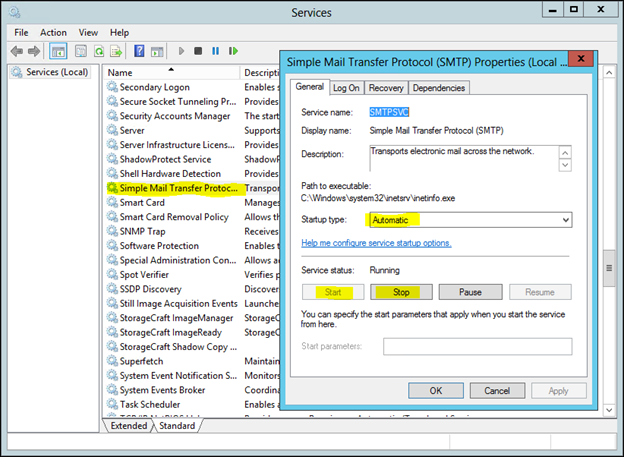
- Set the SMTP Service to Automatic Start and restart it. the Services Management Console should be opened. The Simple Mail Transfer Protocol service should be double-clicked. Start the service first, then stop it. Select Automatic as the Startup type.
That’s it. The service is ready and waiting.
IV. Conclusion
If you’re looking for a more secure setting for email transmission, Skysnag’s automated software safeguards your email communications from direct domain phishing attacks. Our automated software is easy to use and increases email deliverability. By ensuring that only emails from approved senders will be transmitted while protecting them from being spoofed by fraudsters. Sign up using this link for a free trial today and protect your domain’s reputation.