

How to Set Up DKIM for SendPulse?
October 11, 2023 | 2 min read

DKIM uses cryptographic signatures and public-key infrastructure to verify that an email message has not been altered during transit and that it truly came from the claimed sender. Email senders can use DKIM to sign their messages by adding a DKIM-Signature header field to the messages. Email receivers can then use the public key published in the DNS to verify the signature and check that the message has not been tampered with.
Steps to Configure DKIM Record for SendPulse:
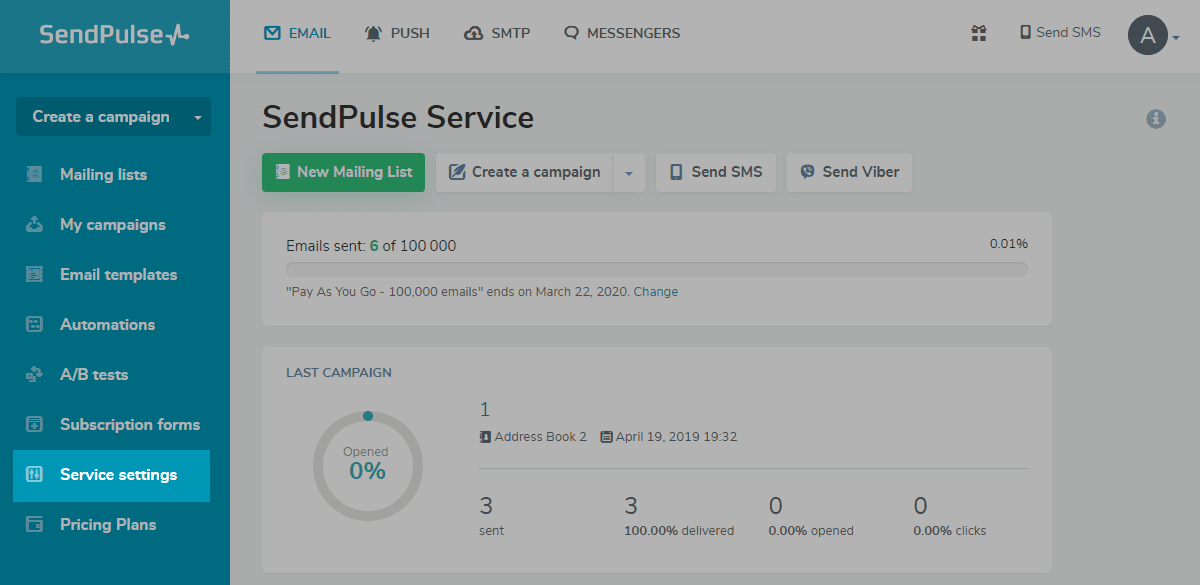
- Navigate to the Email tab, then click the Service settings.
- Click “Email Authentication.”

- Select Domain authentication (SPF and DKIM records) and click “Activate.”

- Type the domain name then click “Generate SPF/DKIM records.”

Steps to publish DKIM key through DNS
- Access your DNS administration interface.
- Generate a TXT record in your DNS titled “._domainkey” with the following format: s1._domainkey.yourdomainname.com
- Paste the DKIM public key’s copied contents into the space designated for the TXT record value.
- Click “Save.”
Use our free DKIM record lookup tool to validate the published DKIM record.
Enable DMARC for your domains to protect against spoofing. Sign up for a free trial today!
For more information on SendPulse DKIM setup, you can refer to their reference documentation


