Setting up DMARC to protect your company email is much easier than it seems. In this post, we will show you 3 easy steps to set up DMARC: create, publish, and analyze.
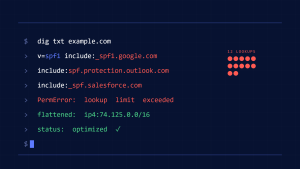
A DMARC record is used to protect against email spoofing. It is a TXT record that is added to a domain’s DNS record. The DMARC record contains instructions for receiving mail servers on what to do with messages that fail or pass DMARC authentication.
Step 1: Generate a DMARC record
Identify the email domain you send business emails from. For example, if you use the address sales@_mycompany.com to send sales emails to prospects, the domain is mycompany.com & generate a DMARC record.
Create a Skysnag account to generate your DMARC record.
Step 2: Add the DMARC record to your DNS
Copy the DMARC record from the Skysnag dashboard, then add it to your DNS records. For more instructions on how to do this, please see our guide.
Step 3: You’re done!
I. Conclusion
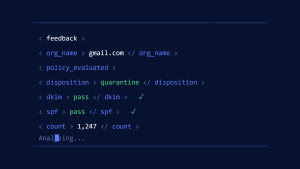
Skysnag automates DMARC, SPF, and DKIM for you, saving you the trouble and time required for manual configuration. Unlock insights, bypass email authentication configuration issues including SPF and DKIM; and protect your domain from spoofing with strict DMARC enforcement, all autonomously with Skysnag. Get started with Skysnag and sign up using this link for a free trial and make sure that your DMARC record is configured correctly.